
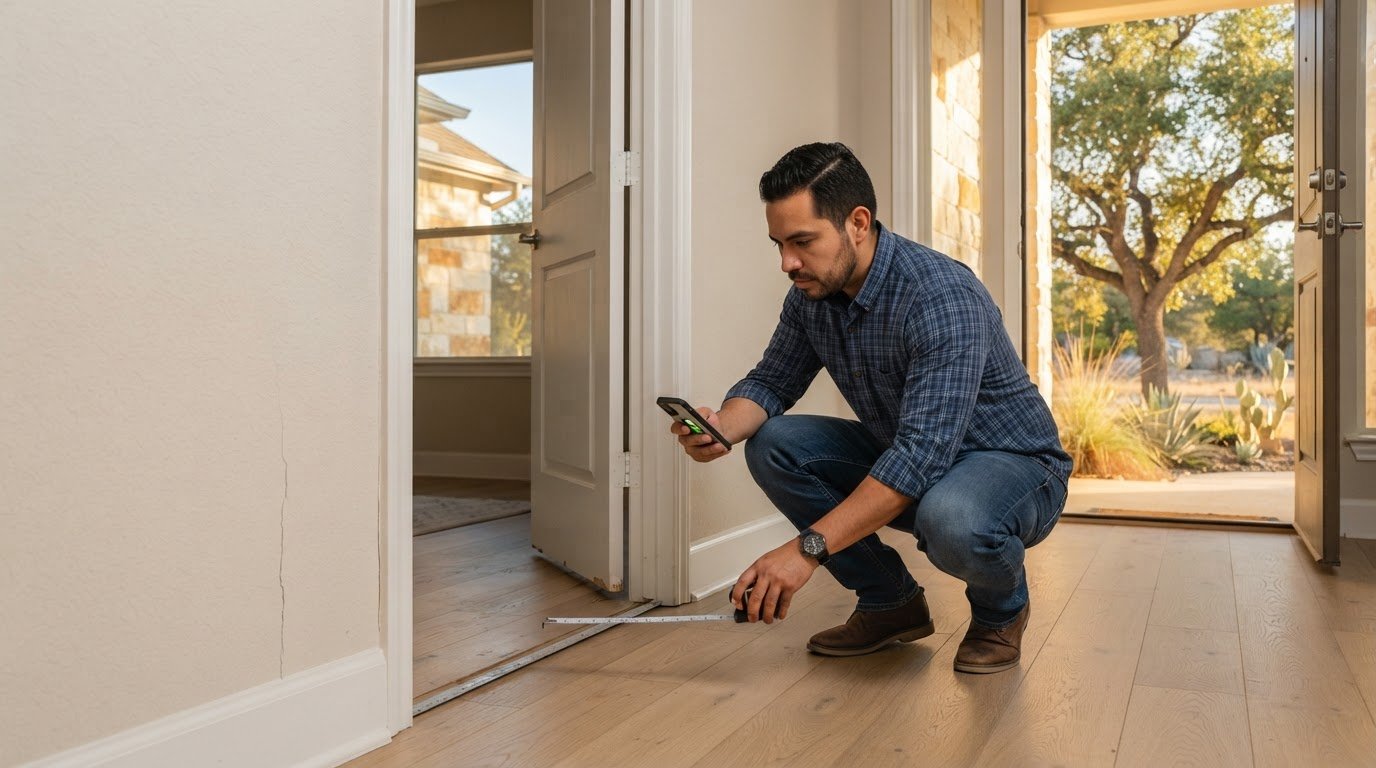
Small clues can reveal a foundation problem before it becomes obvious. To learn how to check for foundation problems yourself, look inside and outside for cracks, sticking doors or windows, and uneven floors; a gap of 3/16 inch or more between a baseboard and the floor can indicate slab movement or settlement. A horizontal foundation crack calls for prompt professional evaluation.
Start with a careful walk-around and a few simple measurements. This guide explains how to inspect your home’s interior and exterior, check floor slope with basic tools, and recognize signs that merit closer attention. You’ll also learn how drainage, soil movement, and nearby trees can contribute to foundation problems, so you can record what you notice and choose a practical next step without jumping to conclusions.
Key Takeaways
- Walk through your home and look for sticking doors, uneven floors, and gaps between baseboards and flooring that may point to movement.
- Record cracks in brick, mortar, concrete, walls, and floors; cracks wider than 1/8 inch are worth measuring and monitoring.
- Check the exterior for signs of movement and drainage issues, and note changes after major weather events or home renovations.
- Measure floor slope with a phone level app or laser, then compare results across several spots to spot uneven areas.
- Consider how soil moisture, drainage, and nearby trees may affect the ground around your home and contribute to foundation movement.
1. What Are the Exact Warning Signs That Mean I Have a Problem?
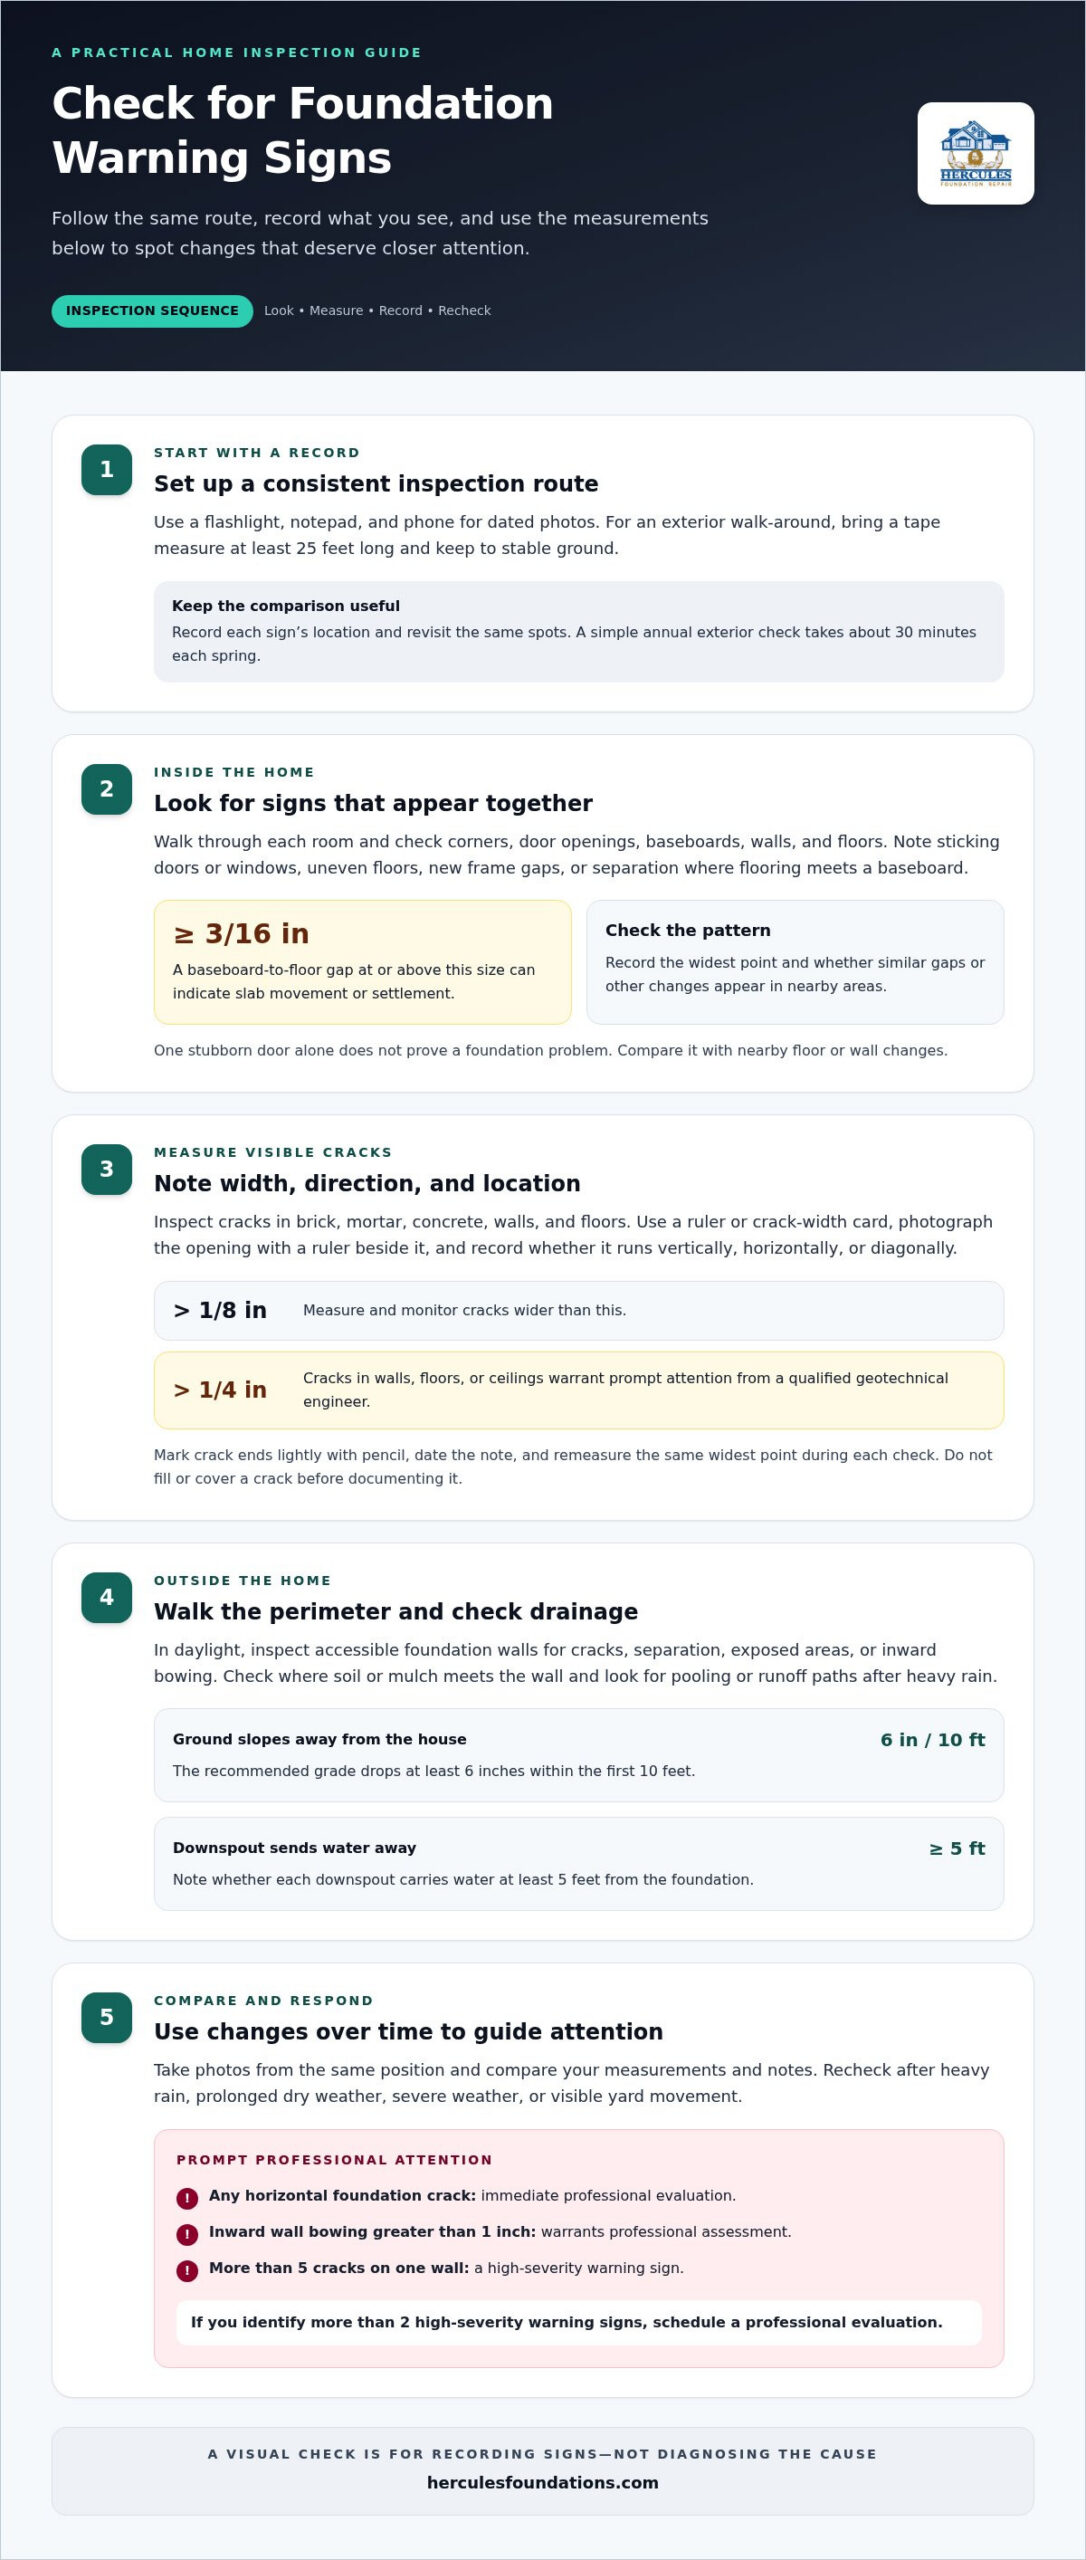
You can safely check visible cracks, floor gaps, sticking doors, and exterior walls without opening or altering the structure. To learn how to check for foundation problems yourself, use a flashlight, take dated photos, and record where each sign appears.
Start indoors. Check whether doors or windows suddenly stick, latch unevenly, or develop a gap at one corner. These changes can happen when framing shifts, but one stubborn door alone doesn’t prove there’s a foundation problem. Look for several changes in the same area, such as a sticking door alongside a sloping floor or a widening wall crack.
Look along baseboards and flooring for separation. Gaps of 3/16 inch or more between baseboards and the floor can indicate slab movement or settlement. Note the location and measure the widest point. A gap across one short section may have a different explanation than similar separation in several rooms, so record the pattern rather than relying on one measurement.
Inspect each wall for cracks, then compare their direction and distribution. More than 5 cracks on one wall is a high-severity warning sign. A single fine crack may be less concerning than multiple cracks appearing together, especially if nearby doors bind or floors feel uneven. Take clear photos from the same position over time; dated images help show whether a visible change is progressing.
Check the exterior foundation for cracks, separation, or a wall that bows inward. Inward wall bowing greater than 1 inch warrants professional assessment. Any horizontal foundation crack calls for immediate professional evaluation. Do not chip concrete, dig beside the footing, or push against a bowed wall to test it. Visual records and measurements are safer than disturbing structural materials.
Follow the same route each time: inspect room corners, door openings, baseboards, and accessible exterior walls. Regular checks can reveal changes a quick glance might miss. Revisit the same spots after heavy rain, prolonged dry weather, or visible yard movement, then compare your notes and photos.
Some warning signs deserve faster attention than routine monitoring. If your inspection identifies more than two high-severity warning signs, schedule a professional evaluation. Examples include a horizontal foundation crack, inward bowing beyond 1 inch, and more than 5 cracks on one wall. These signs do not reveal the cause by themselves, but together they provide a clear reason to get the structure assessed.
2. How Do I Check My Foundation Inside the House?
Walk slowly through each room, then inspect visible cracks in brick, mortar, concrete, walls, and floors. You can measure and photograph these surface changes without removing finishes. Record the room, wall, crack direction, and widest point so you can compare the same locations later.
For a crack wider than 1/8 inch, measure its width and note the measurement. Use a ruler or crack-width card, and take a close photo with a ruler beside the opening. Check whether the crack runs vertically, horizontally, or diagonally, and whether it crosses mortar joints or continues from a wall onto the floor. These details help describe the pattern, but width alone doesn’t identify its cause.
Cracks wider than 1/4 inch in a building’s walls, floors, or ceilings warrant prompt attention from a qualified geotechnical engineer. Look closely at brick and mortar for stair-step cracks that follow the joints, and inspect concrete for cracks that cross a slab or appear near a wall. Don’t fill or cover a crack before documenting it. Compare each photo from the same angle, and write down any visible change.
To monitor a crack, lightly mark its ends with pencil, write the date nearby, and measure the same widest point during each check. Keep dated photos with your measurements. If the crack lengthens or widens, or new cracks appear alongside it, add those changes to your record instead of relying on memory.
Walk the same route through adjoining rooms and note changes in floor level, new gaps at trim, or areas that feel uneven underfoot. Open and close nearby doors and windows, recording any sticking, latching changes, or gaps around the frame. One troublesome door can have several causes, so compare it with nearby floor and wall changes.
In an accessible basement or crawl space, use a flashlight to scan foundation walls, concrete, and visible supports. Look for cracks, damp areas, displaced debris, or changes around posts and beams. Don’t enter a confined, wet, or visibly unstable area. Inspect from a safe position and photograph what you can see. Note where moisture appears and whether it’s near a crack or wall joint.
Use the same route and notes each time. A crack’s direction, width, location, and change over time provide more useful context than a single snapshot. If you find a crack wider than 1/4 inch in a wall, floor, or ceiling, arrange prompt evaluation by a qualified geotechnical engineer.
3. How Do I Inspect My Foundation Myself – Outside First?
Walk the full perimeter in daylight and keep your feet on stable ground. Carry a flashlight, a tape measure at least 25 feet long, a notepad, and a phone for dated photos. A simple annual check takes about 30 minutes each spring. The goal is to record visible changes, not diagnose the structure.
Inspect the foundation wall from each accessible side. Note cracks, separation, exposed areas, and spots where soil or mulch touches the wall. Check whether the ground slopes away from the house: the recommended grade drops at least 6 inches within the first 10 feet. Look at each downspout and note whether it sends water at least 5 feet from the foundation.
Check drainage after heavy rain, when pooling and runoff paths are easier to spot. Revisit the exterior after severe weather if water has collected near the house or the ground has visibly shifted. Before a purchase, renovation, or major change around the home, document existing cracks and drainage conditions. This gives you a baseline to compare with later observations.
Plan an annual spring walk-around within 45 days of the heating season ending. Photograph the same corners, wall sections, and downspout outlets each year. Write down the date, weather conditions, and any new or changed observations. Homes with newer foundations, no known history of problems, stable soil, and a moderate climate may use a 3-to-5-year inspection schedule. Buildings over 25 years old benefit from periodic foundation evaluation, especially if they have never been professionally inspected.
Tailor your route to the foundation type. For a slab, inspect the visible perimeter and nearby grading. In a basement, check accessible exterior walls and note damp areas or drainage changes. With pier-and-beam construction, look at accessible areas around the perimeter and record visible changes near supports. Don’t dig beside footings or enter an unsafe crawl space to extend your inspection.
The inspection type and your home’s accessibility affect the work involved. For a professional assessment, choose a licensed structural engineer or geotechnical engineer with foundation experience. A general home inspector isn’t a substitute for that specialist when the concern involves structural movement.
For DIY checks, a 25-foot tape helps assess grading and downspout distance; a flashlight helps reveal details in shaded areas. If your notes show changes across several checks, bring the dated photos and measurements to the professional evaluation.
4. Measuring floor slope with a phone or laser
A slope measurement gives you a useful record of floor condition, not a diagnosis. A floor slope greater than 1/4 inch over 10 feet is a reason to investigate or consult a professional. A noticeable slope exceeding 1 inch over 20 feet also warrants investigation for possible foundation settlement or floor-framing problems.
For a quick screening, use a free smartphone level app. Choose a clear interior path and note the exact start and end points. Place the phone on a firm, straight board so floor texture doesn’t tilt it. Keep the phone’s direction consistent and compare readings at the same locations. Record the room, measurement points, and results. An app can help you spot changes, but it can’t establish the cause.
If you are using a laser level, set the device on a stable surface, away from foot traffic, and project its line across a wall. Measure from the horizontal line down to the floor at both ends of a 10-foot span. A larger distance at one end indicates a difference in floor elevation. Write down the readings and repeat the setup to check consistency.
Measure more than one route. Check a hallway, the center of a large room, and a path near an exterior wall. Avoid comparing measurements across different floor materials, such as carpet and tile, because their surfaces differ. Use the same tool, room, endpoints, and orientation for later checks. Consistency makes changes easier to identify.
Look beyond one room. A sloping staircase, a visible gap beneath a stair stringer, or a wall that appears out of plumb can add useful context. Use a laser’s horizontal line to compare the floor or nearby trim, but don’t assume these signs share one cause. Floor framing, surface wear, and foundation movement can all affect how a slope appears.
If a reading crosses either threshold, note its location and compare it with other observations, such as sticking doors or nearby cracks. A slope greater than 1/4 inch over 10 feet merits further investigation; a noticeable change exceeding 1 inch over 20 feet also warrants investigation. Photograph the laser setup and keep measurements dated. If the floor’s condition changes between checks, those records help describe the pattern and its extent.
5. Causes of foundation problems
Soil movement is a central cause of foundation distress. Expansive clay absorbs water, swells, then shrinks as it dries. That repeated change can push against a footing or leave less support beneath it. The American Society of Civil Engineers estimates that about 25% of homes in the United States have some type of damage caused by expansive soils. Soil type helps explain why homes nearby can respond differently to similar weather.
Changes in moisture around the house can contribute to movement. Long dry periods may draw moisture from soil, while heavy rain can saturate it. If water repeatedly collects beside one wall, the ground may soften or shift unevenly. Compare exterior cracks with drainage paths, downspouts, and places where water pools. A change limited to one side can help reveal where conditions differ.
Large trees also affect soil moisture. Roots draw water from surrounding ground, and growing roots can exert pressure near foundation walls. Avoid planting large trees within 10-15 feet of a foundation because roots can cause heaving and moisture depletion. If a mature tree stands nearby, record its location and compare nearby ground, walls, and interior floor changes. That pattern is more informative than treating the tree as proof of foundation damage.
Seasonal temperature changes can also coincide with visible cracking. The National Research Council of Canada says approximately 67% of new shrinkage cracks appear during spring or early summer as temperatures fluctuate. A new crack during that period still deserves documentation. Record its location, direction, and width, then compare photos over time. A changing crack alongside a sticking window or floor movement gives more context than timing alone.
Construction conditions can affect how a foundation performs. Soil that was disturbed or poorly compacted may settle unevenly beneath a structure. Concentrated runoff can wash away or soften supporting soil, while moisture shifts can move clay under part of a home. Look for patterns: a settled corner, nearby cracks, or a drainage channel may point to a localized condition. These clues help narrow the question, but they don’t prove a single cause.
For a practical check, map visible signs against possible influences. Note nearby trees, pooled water, slope changes, and where cracks or uneven floors appear. If damage clusters beside a drainage problem, include the water pattern when considering possible causes. If several signs align in the same area, a structural evaluation can clarify whether the foundation needs repair and what conditions may need attention.
Foundation movement can have more than one contributing cause. If your observations point to a foundation concern, discuss foundation movement and the repair options suited to the structure.
Hercules Foundation Repair: Foundation Repair
Hercules Foundation Repair helps homeowners address foundation movement with solutions suited to the structure. If your notes show ongoing cracks, uneven areas, or other signs of movement, a professional assessment can help determine the next step.
For slab foundations, Slab Foundation Repair addresses issues specific to slab construction. Homes with crawl spaces and supporting beams may need Pier and Beam Foundation Repair. Hercules also provides Foundation Repair for other residential foundation concerns and Commercial Foundation Repair for commercial properties.
Bring your dated photos and measurements when discussing the changes you’ve noticed. To talk with Hercules Foundation Repair about foundation repair, visit herculesfoundations.com.
Take Your Next Step With Confidence
Knowing how to check for foundation problems yourself helps you spot changes, but your observations are a starting point, not a repair plan. Keep your notes together and describe what changed, where it appears, and what concerns you most. This gives the next conversation a clear focus.
Hercules Foundation Repair offers Foundation Repair, including Slab Foundation Repair and Pier and Beam Foundation Repair. If your records point to a foundation concern, discuss what you’ve observed and the repair approach that fits your home.
Contact Hercules Foundation Repair to talk through your foundation concerns. A clear next step can make the situation easier to manage.
Frequently Asked Questions
How Do I Inspect My Foundation Myself – Outside First?
Start at one corner and walk the exterior perimeter in the same direction each time. Note which side faces a slope, driveway, garden bed, or downspout, as these features can help reveal drainage differences. Take photos from fixed viewpoints, such as a corner looking along the wall, and label each image by side of the house. Homeowners in San Antonio, Austin, Houston, and Victoria can use the same method to compare seasonal observations.
What Are the Exact Warning Signs That Mean I Have a Problem?
Act on combinations of changes, not one isolated cosmetic mark. Examples include several cracks concentrated on one wall, a horizontal foundation crack, or a wall bowing inward more than 1 inch. More than 5 cracks on one wall is a high-severity warning sign. If you find more than two high-severity signs together, arrange a professional evaluation and share your photos and measurements.
Can I Use a Smartphone App or Laser to Measure Foundation Slope?
Yes. A free smartphone level app can provide a quick screening, while a cross-line laser projects a horizontal reference for comparison. A floor slope greater than 1/4 inch over 10 feet merits investigation; a noticeable slope exceeding 1 inch over 20 feet also warrants investigation. Check the same points again with the same tool, because measurements from different locations aren’t directly comparable.
How Do I Check My Foundation Inside the House?
Inspect rooms in a consistent route, including closets and spaces beside staircases, where changes can be easy to overlook. Look for cracks that cross between finishes, such as a wall crack continuing toward a ceiling corner. Open and close windows and doors in affected rooms, then compare how they move with nearby floor or wall changes. In a basement, observe accessible surfaces without disturbing the structure.
What Simple Tools Do I Need to Check My Foundation at Home?
Gather a flashlight, notepad, phone camera, ruler, and a tape measure at least 25 feet long. A free smartphone level app can help with quick floor screening; a 4-foot bubble level is another basic option. Keep the tools together so your next check uses the same measuring method. Add a pencil to mark crack endpoints lightly, and label each photo with its room or exterior location.
What Causes Foundation Problems and Failures?
Soil moisture changes, expansive soils, drainage patterns, nearby tree roots, and temperature fluctuations can all contribute to movement. The American Society of Civil Engineers estimates about 25% of U.S. homes have damage caused by expansive soils. The National Research Council of Canada says approximately 67% of new shrinkage cracks appear in spring or early summer as temperatures fluctuate. These influences can overlap, so record nearby conditions alongside visible changes.
When Should I Call a Structural Engineer After My DIY Inspection?
Arrange professional evaluation for any horizontal foundation crack, or inward wall bowing greater than 1 inch. Cracks wider than 1/4 inch in walls, floors, or ceilings warrant prompt attention from a qualified geotechnical engineer. A professional foundation inspection should involve a licensed structural engineer or a geotechnical engineer with foundation experience. Bring dated photos, locations, and measurements so the assessment can focus on the changes you observed.
What Are the Signs of Foundation Problems Inside a House?
Interior clues can include doors that suddenly stick, windows that no longer close smoothly, visible wall or ceiling cracks, separated trim, and uneven floors. A gap of 3/16 inch or more between baseboards and flooring can indicate slab movement or settlement. Compare nearby rooms rather than treating one symptom as proof. A cluster of changes along the same wall or area gives a clearer picture to document.